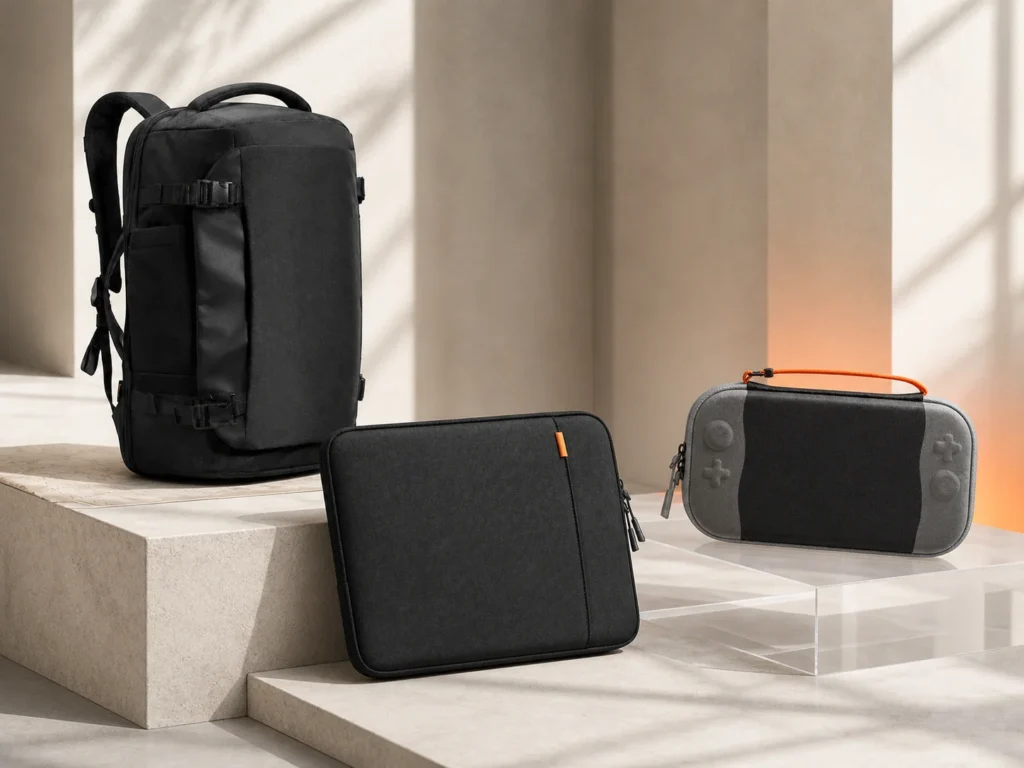


A camera backpack has to solve several different problems at once. It protects equipment, carries a computer and personal items, opens quickly enough for the way a photographer works, and remains manageable after the equipment has been added. A useful choice therefore begins with the objects and journey—not with a capacity number or a dramatic product photograph.
This guide uses current first-party records from PGYTECH and tomtoc to show how the decision can be structured. It is not a ranking, and ChinoMuse has not physically tested the featured bags. Published specifications remain manufacturer-attributed and should be checked against the exact active model.
1. Write an equipment list before choosing a bag
List the camera body, every lens, batteries, charger, filters, microphone, compact support, computer and personal items that will travel together. Add dimensions and weight where they are known. A general phrase such as “mirrorless kit” is too imprecise: two bodies, a long lens and a microphone occupy a very different volume from one body and a compact prime.
Separate items into three groups: equipment that needs padded organisation, objects that only need a normal pocket, and things that must remain reachable without exposing the whole load. This simple distinction prevents a bag with many dividers from being mistaken for a bag that fits the actual equipment.
2. Treat capacity as a starting point, not proof of fit
Litres describe broad volume, not the shape of usable space. Divider thickness, tapered walls, curved corners and a laptop compartment all reduce the space available to camera equipment. A tall telephoto lens may fail to fit a bag that still has spare volume elsewhere.
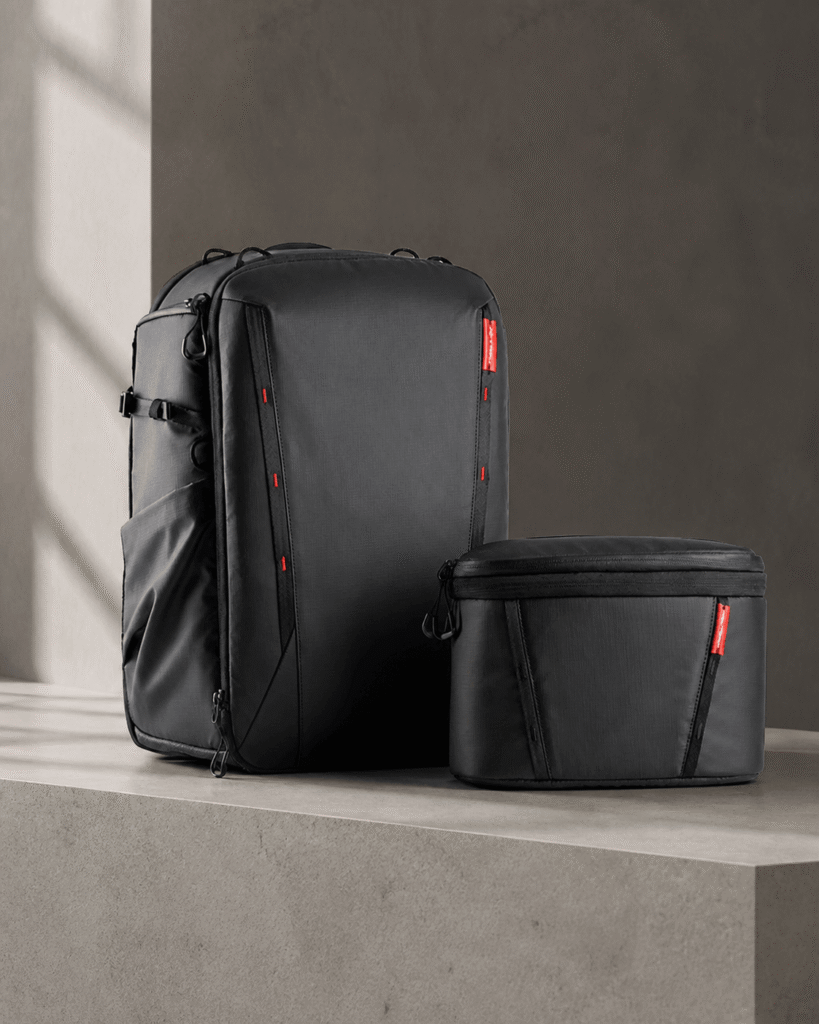
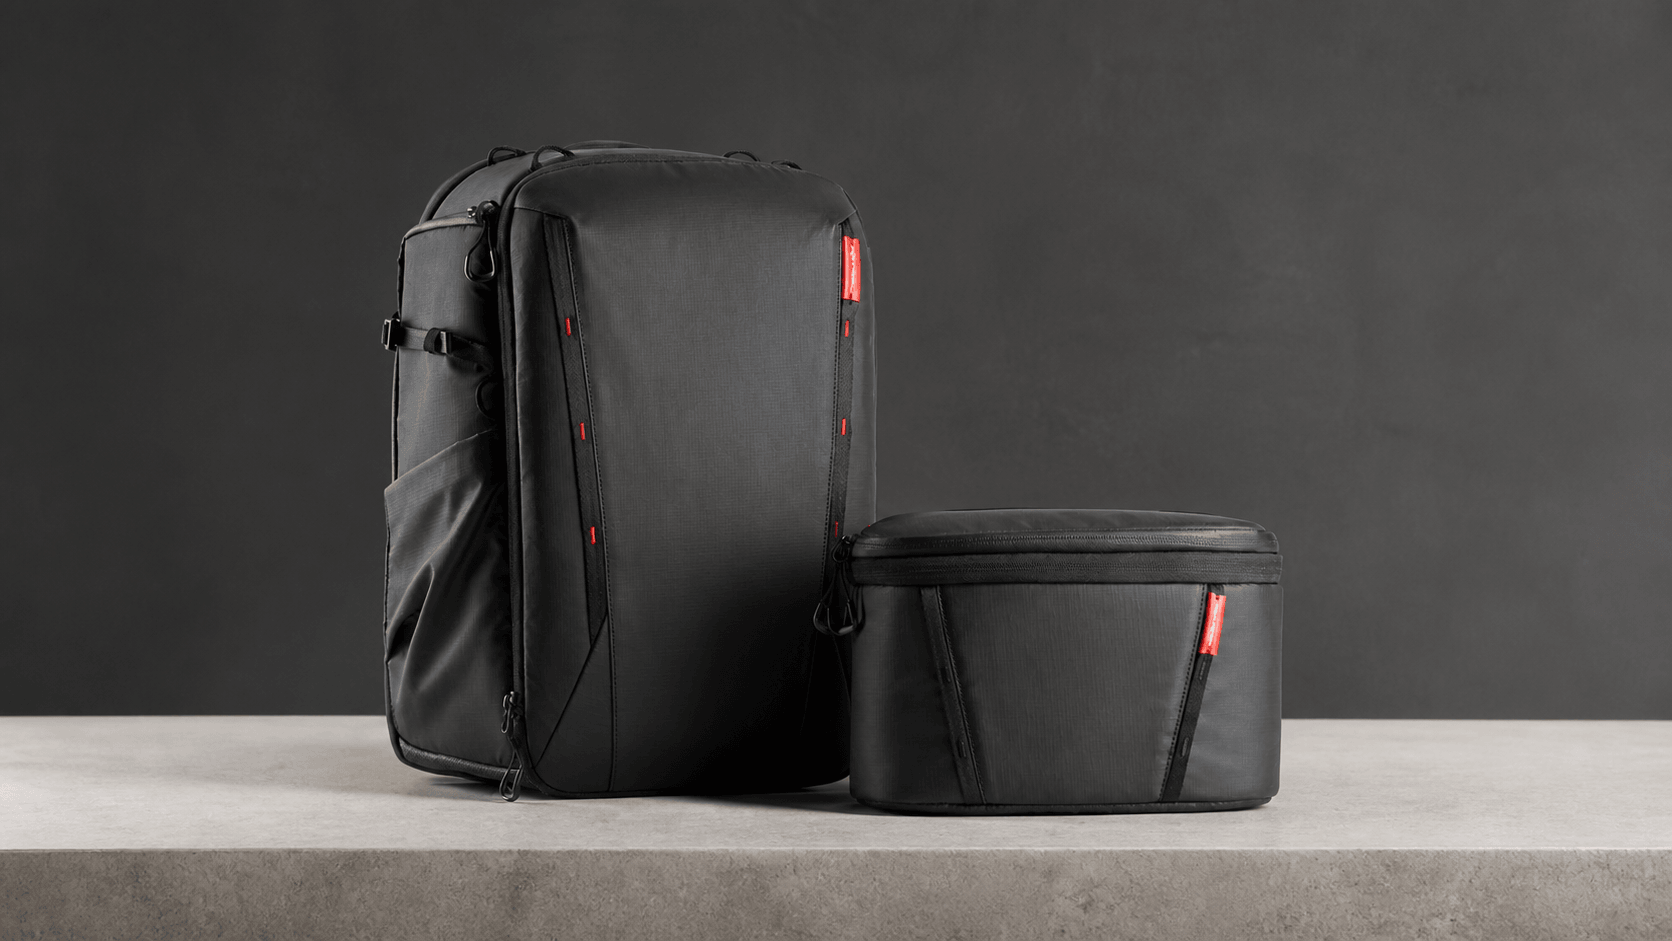
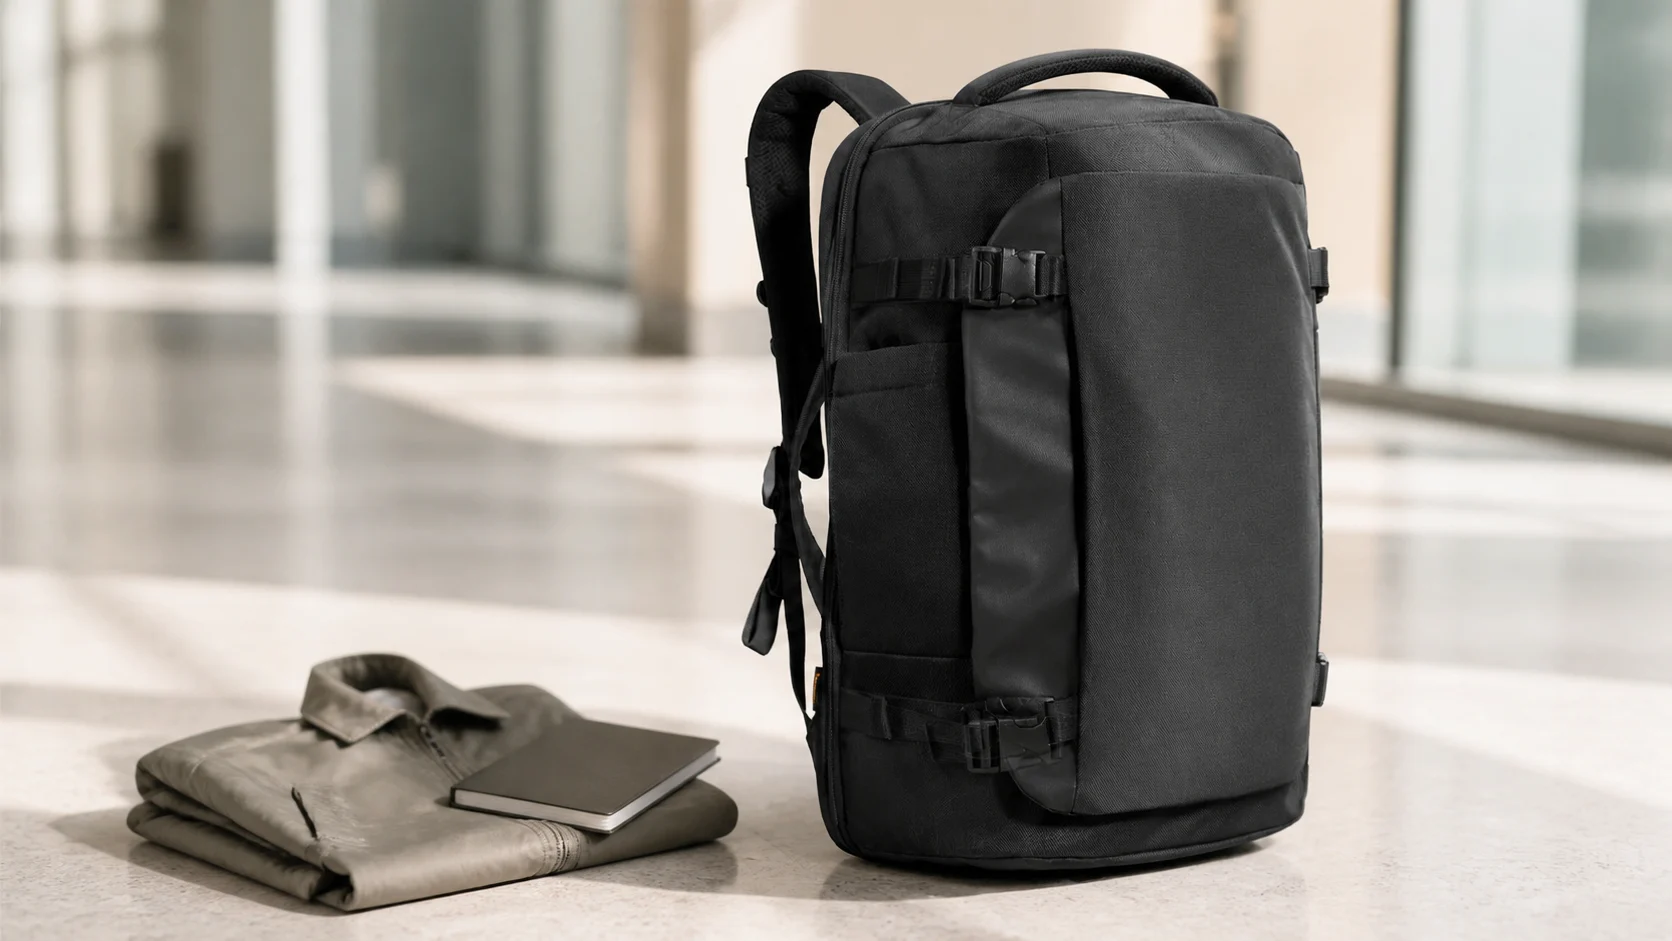
The PGYTECH OneMo 2 Backpack 25L adds vertical or horizontal expansion to its base capacity. The tomtoc Navigator-T66 40L uses a larger travel-oriented main compartment. Those numbers identify two different packing systems; they do not establish which one holds a particular camera kit.
Measure the longest and deepest protected item, then compare those measurements with the internal arrangement shown by the manufacturer. When internal dimensions are absent, leave the fit unresolved rather than converting external dimensions into a promise.
3. Match the opening to the shooting rhythm
A full rear or suitcase-style opening makes the whole interior visible, which helps when configuring equipment in a room. Side access can be faster when one camera has a predictable position. Top access can suit items that move in and out frequently, but it may make deeper objects harder to inspect.
Ask where the bag will normally be opened: on a hotel floor, beside a car, on public transport, at a desk or while standing outdoors. The best opening is the one that exposes the necessary object while keeping the rest of the load controlled in that setting.
Do not assume that “quick access” is automatically better. A convenient side opening can also create another closure that must be checked before the bag is lifted.
4. Examine dividers as a system
Divider count matters less than the range of stable layouts the dividers can create. Look for clear attachment areas, enough vertical support for heavy lenses, and a way to prevent small accessories from moving beneath a camera body. A removable insert or secondary bag can add flexibility, but it also consumes volume and introduces another zip and handle.
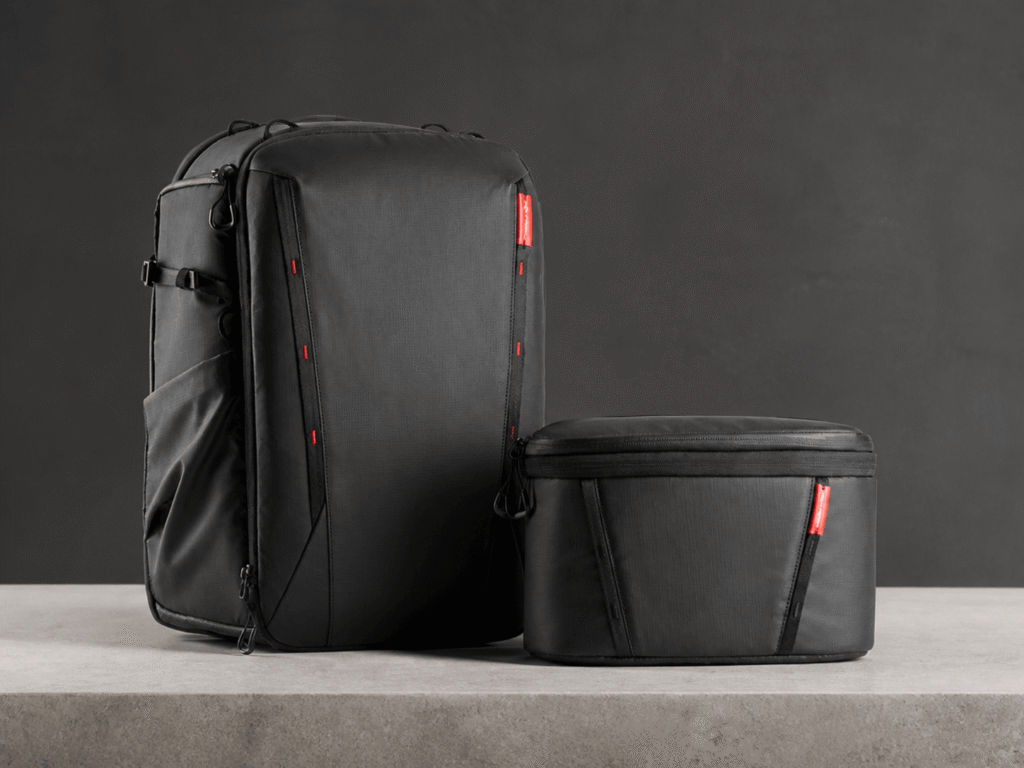
OneMo 2 includes a removable shoulder bag that can operate inside or outside the main backpack. That design may suit a journey that alternates between full transport and a smaller working kit. It should still be evaluated with the selected equipment because the secondary bag changes the main compartment’s available shape.
5. Calculate the carried weight, not only the empty weight
Bag weight is easy to overlook because it appears before the camera, lenses and computer are added. PGYTECH lists the 25L OneMo 2 backpack at 2.11kg with partitions and its shoulder bag at 0.5kg. tomtoc lists the Navigator-T66 at 1,200g. These are manufacturer figures for different structures and purposes, not a direct comfort comparison.
Add every planned item to the empty figure. Then consider walking distance, stairs, transit changes and whether the bag will remain on the body while shooting. A heavier structure can still be appropriate, but its contribution to the total should be explicit.
6. Check the harness against the journey
Shoulder-strap shape, sternum adjustment, back-panel structure, waist support and luggage pass-throughs affect how a bag moves. Manufacturer photographs can confirm that a feature exists, but they cannot prove comfort for a particular body or load.
Look for adjustment range and whether the bag’s centre of mass sits close to the back. If possible, try the bag with equivalent weight before purchase. If that is not possible, use a seller with a clear return route and avoid treating padded appearance as evidence of long-duration comfort.
7. Verify laptop fit by chassis dimensions
A screen-size statement is only an initial compatibility guide. A protective case, thick workstation chassis or unusual aspect ratio can change fit. Compare the complete width, height and thickness of the computer with the compartment, including any sleeve that will remain on the device.
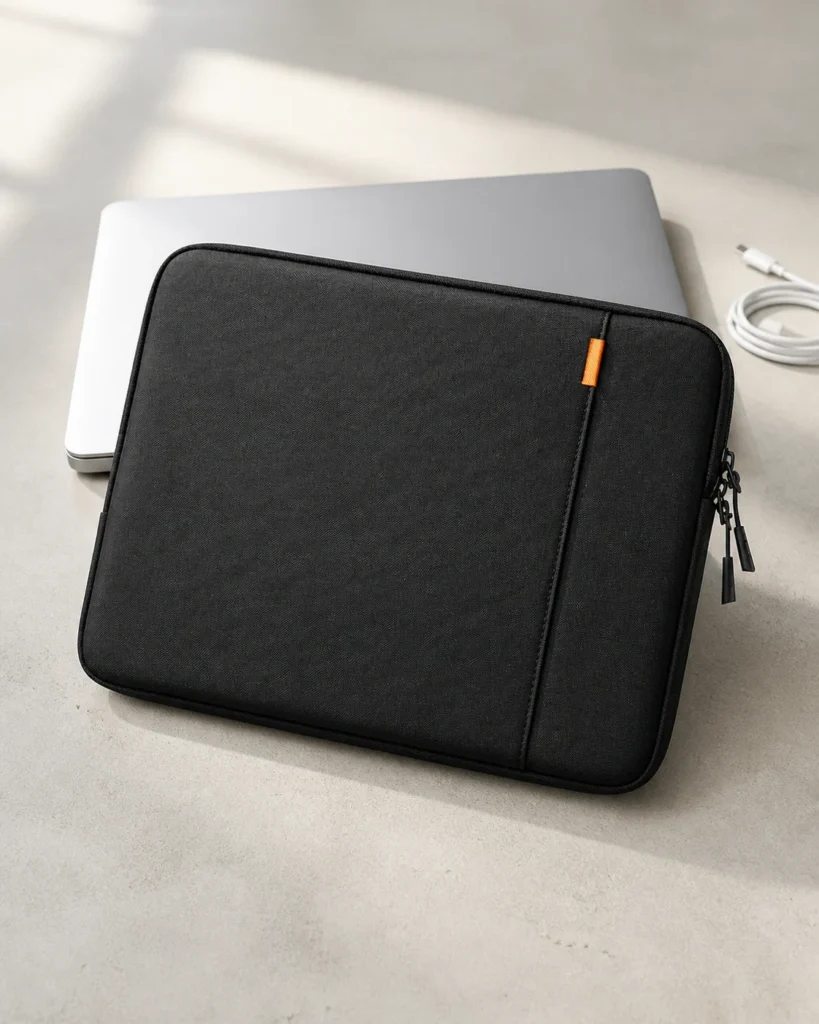
The tomtoc Defender-A13 illustrates why dimensional checking matters: its official record specifies internal dimensions for one selected size. The same method should be applied to the integrated laptop compartment of a backpack.
8. Read weather language narrowly
Coated fabric, protected zips and an included rain cover do not make every bag waterproof. Seams, openings, wear and the way a cover is fitted all affect exposure. Record the exact manufacturer term—such as splash-resistant or water-repellent—without upgrading it.
For travel in sustained rain, plan a second layer for critical electronics and check how a wet rain cover is stored after use. Weather preparation is a system decision rather than a single material claim.
9. Measure the bag against the actual airline rule
Carry-on acceptance belongs to the airline, fare, route and date of travel. Compare the backpack’s external dimensions with the current allowance, including expanded sections and protruding pockets. A manufacturer reference to carry-on or IATA dimensions is not universal boarding approval.
Also consider weight limits. A bag may fit the sizer while the combined camera and computer load exceeds the permitted cabin weight. Record both dimensions and total loaded mass before the journey.
10. Evaluate external access as an interface
Tripod straps, bottle pockets, luggage pass-throughs and shoulder-strap attachment points determine how the bag connects with other equipment. Each connection should be checked for dimensions, balance and movement.
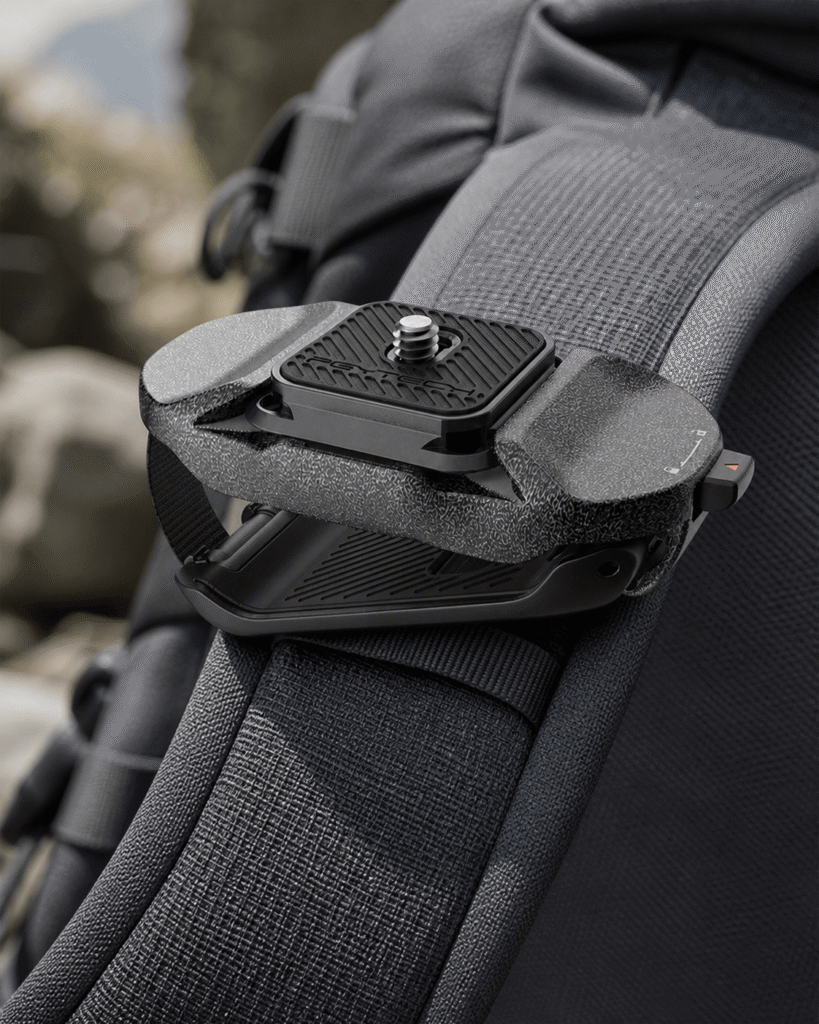
The PGYTECH Beetle Camera Clip V2, for example, is specified for straps within a stated width and thickness. A clip may support faster access, but only when the strap, plate and camera form a secure combination. The bag should not be selected on the assumption that every third-party interface will fit.
11. Use a packing rehearsal before committing
Create the intended load on a table. Note which items must stay together, which can be separated and which need to be removed at airport security or during a working day. Map those groups onto the bag’s openings and compartments.
A useful rehearsal asks four questions: can the camera be removed without unloading clothing; can batteries be distinguished from depleted ones; can the computer leave the bag without exposing lenses; and can every external opening be checked at a glance before departure?
12. Confirm the transaction and support route
An active official page does not establish stock, delivery, returns or warranty in every country. Identify the seller, exact model code, colour, included dividers or pouches, return address and regional warranty channel. Keep a copy of the active specification page when ordering.
Variants can share a family name while changing volume, dimensions and included parts. The record should describe the exact configuration being purchased, not the most generous feature list across the family.
A short camera-backpack decision record
- Equipment: every protected item, with dimensions and weight.
- Journey: daily commute, location work, air travel or a mixed route.
- Access: the objects that must be reached without fully unpacking.
- Structure: divider layout, insert or secondary bag, and laptop space.
- Total load: bag plus camera equipment, computer and personal items.
- Limits: weather language, airline dimensions and interface compatibility.
- Purchase route: exact model, seller, returns and regional warranty.
Choose the workflow, then the bag
A camera backpack is most successful when its layout matches the sequence of a real day: pack, travel, reach, support, return and check. Capacity and appearance still matter, but they become meaningful only after the equipment, access pattern and journey are clear.
The result may be a dedicated camera system, a travel backpack with a removable insert or a smaller bag paired with another carry object. The correct category is less important than a verified fit and a workflow that can be explained without relying on marketing shorthand.