
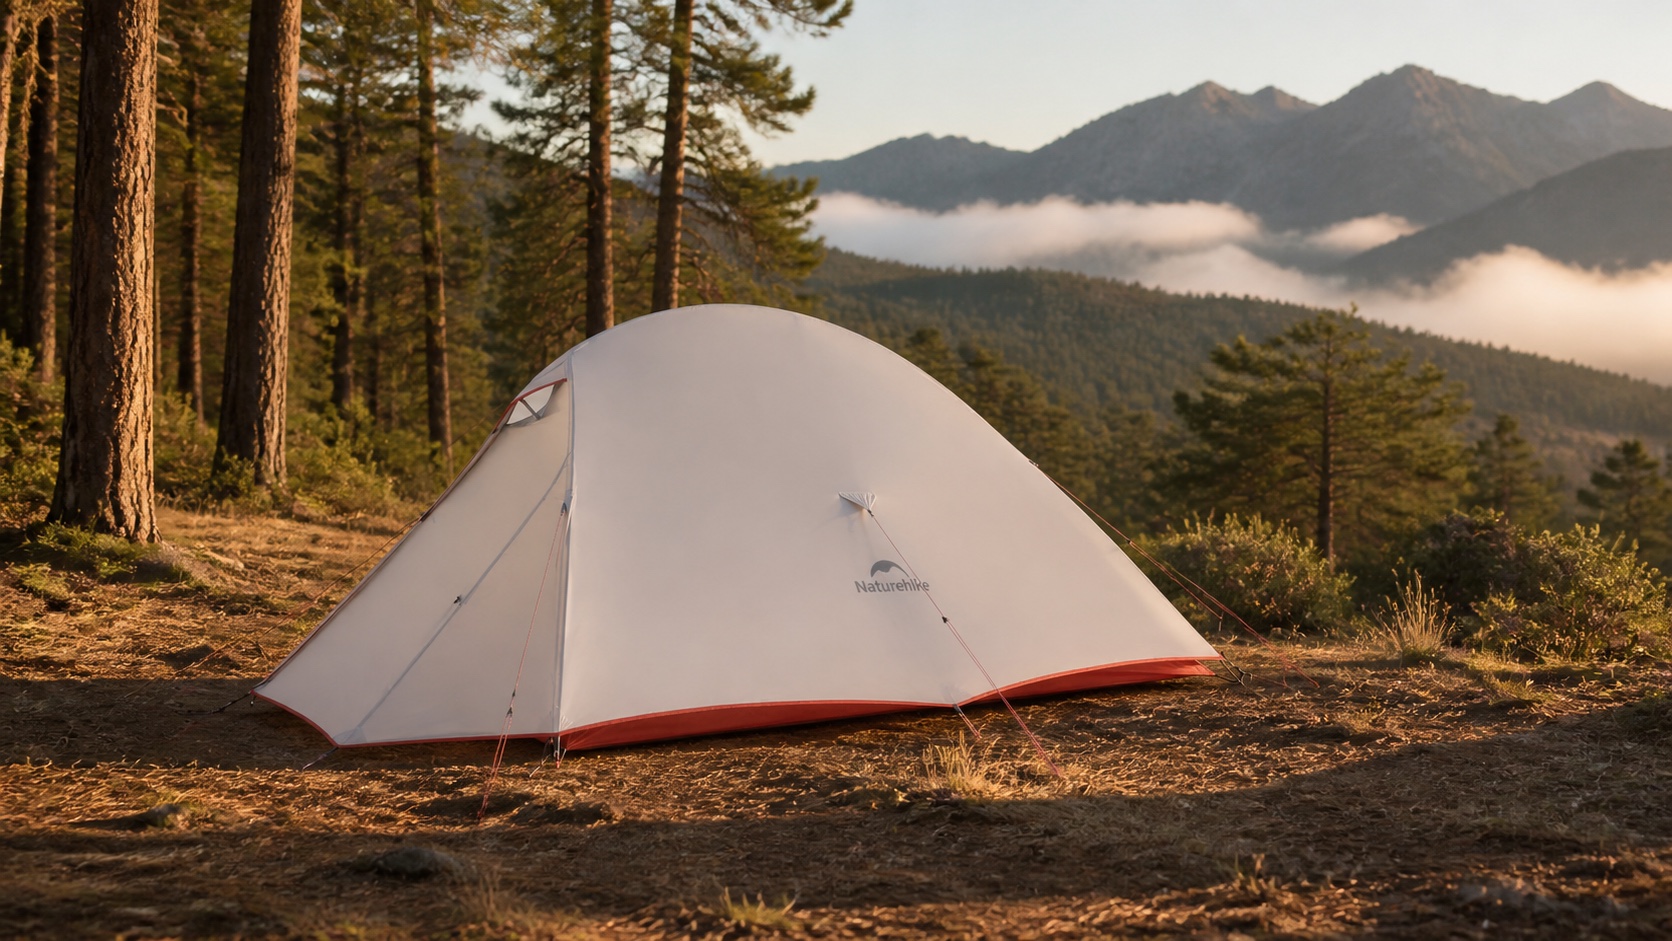


Lightweight camping gear is often compared one item at a time. A tent wins attention for its minimum weight, a sleeping bag for its temperature figures and a chair for how small it looks in its storage pouch. The journey, however, carries all three together. A sensible choice begins with the complete system: what it weighs, how much space it occupies, how it is assembled and whether every component suits the same trip.
This guide uses current first-party records for three Naturehike products to demonstrate a verification method. It is not a ranking, and ChinoMuse has not physically used the equipment. Dimensions, materials, ratings and setup statements remain manufacturer-attributed and should be confirmed for the exact regional model before purchase.
1. Define the trip before using the word lightweight
Start with the route, season, likely weather, number of occupants, transport method and distance carried on foot. A system for a short walk from a car has a different weight budget from one carried between railway stations and a remote campsite. A chair can be central to one trip and unnecessary on another.
Write down the conditions the equipment must address rather than beginning with a target product. “Two people, three-season use, exposed rain, one night and a 6km approach” is a useful brief. “Ultralight weekend” is not: it says nothing about shelter space, insulation or the consequences of a weather change.
2. Calculate the whole carried system
Manufacturers may publish minimum weight, packed weight or product weight without accessories. These figures are not interchangeable. Naturehike lists the Cloud Up Pro 2 tent at 1.36kg minimum and 1.53kg packed. The difference matters because poles, stakes, guylines, storage bags and any optional footprint still have to enter the load.
Add the sleeping bag, mat, chair, repair items, lighting, water, food, clothing and the backpack itself. Keep a separate line for every part omitted by a headline figure. This prevents a light individual object from disguising a heavy or bulky system.
3. Compare packed volume as well as weight
Two systems with the same mass can occupy very different volumes. The Cloud Up Pro 2 is listed with a packed diameter of 13cm and length of 40cm. The CWM 400 sleeping bag is listed at 35 × 18 × 18cm in storage, while the PeakLite YL08 chair bag is 50 × 13 × 14cm.
Those shapes influence packing. Long pole sections may need to sit vertically or outside the main compartment; a soft sleeping bag can fill irregular space but should not be compressed indefinitely between trips. Test the arrangement using the backpack’s internal dimensions rather than adding litre figures alone.
4. Check shelter space against people and equipment
The Cloud Up Pro 2 is listed with an expanded size of 210 × 130 × 105cm. Those dimensions establish a floor envelope and peak height, not a guarantee of comfort for every pair of occupants. Sleeping mats, shoulder width, wall slope and equipment stored inside all reduce useful space.
Map the actual mat dimensions onto the floor. Decide whether footwear and backpacks remain under the fly, in a vestibule or inside the sleeping area. If weather requires more equipment to move under cover, the workable area changes again.
5. Read waterproof figures narrowly
Naturehike specifies a 20D nylon silicone rainfly with PU3000+ and a 210T polyester floor with PU5000+ for the cited Cloud Up Pro 2 record. These are manufacturer material and hydrostatic-head statements. They do not establish performance after abrasion, incorrect pitching, seam damage or long-term coating wear.
Check whether seams require treatment, how guylines tension the fly and whether the ground can drain. A higher laboratory number cannot compensate for a poorly selected pitch or water collecting beneath the floor.
6. Treat the sleeping bag as one part of a sleep system
The CWM 400 is listed with 650-fill-power duck down, a 20D 400T nylon shell, a 220 × 85cm opened size and a product weight of 0.9kg. Naturehike also publishes temperature figures including high comfort 13.2°C, comfort 4.7°C, limit −0.4°C and extreme −15.8°C.
Do not turn the lowest number into a recommended operating temperature. Warmth depends on the sleeping mat, clothing, metabolism, humidity, wind, food, fatigue and the way the bag fits. The extreme figure is not a comfort target. Plan around the expected conditions with a safety margin and a mat whose insulation suits the ground temperature.
7. Verify the exact sleeping-bag family
Similar names can identify different fills, constructions or regional variants. The official page used here identifies CWM400 even though its URL contains “cw400”. That distinction should remain recorded instead of being silently normalised to another Naturehike family.
Before ordering, compare the full title, fill type, fill power, dimensions, zip position, temperature table and product code shown on the active sales page. A photograph shared across variants is not enough to prove that the specification is identical.
8. Decide whether a chair earns its place
The PeakLite YL08 adds a manufacturer-listed 0.96kg to the system. Naturehike specifies 600D Oxford fabric, a 7075 aluminium frame, a 55cm seat and detachable anti-sink feet. It also states a load of up to 150kg.
A stated load is not a performance guarantee for every surface or dynamic movement. Check that the feet sit evenly, frame sections are fully engaged and fabric corners are properly seated. On soft ground, foot area can be as important as frame material. If the trip contains little stationary time, compare the chair’s benefit with the weight and 50cm packed length it adds.
9. Count setup steps, not marketing seconds
Naturehike states that the PeakLite chair sets up in under 60 seconds and uses a shock-corded frame. The important question is not whether an experienced demonstrator can meet that time. It is whether every joint is easy to identify, seat fabric can be fitted without unsafe force and no loose component is likely to disappear on uneven ground.
The same principle applies to the tent. Pitch it before travel, identify the pole orientation, practise tensioning the fly and confirm that the complete shelter returns to its storage bag when dry. A rehearsed system is usually more useful than a theoretically faster unfamiliar one.
10. Separate material identity from performance
20D nylon, 7075 aluminium and 600D Oxford describe material categories or constructions. They help compare what the object is made from, but do not prove seam quality, long-term durability, wind stability or comfort. Coatings, joins, geometry and manufacturing consistency remain relevant.
Record each material beside the component it describes. Avoid extending the tent fly’s fabric specification to the floor, or the chair frame’s alloy to stakes and poles in another product.
11. Check everything included in the selected package
Product-family photographs often show footprints, pillows, pumps, mats or storage accessories that may not belong to every configuration. Read the package list for the exact colour and size. If a component is necessary to achieve the planned setup, treat an unclear inclusion as an unresolved cost and weight.
For imported or cross-border purchases, confirm the seller, return address, current warranty channel and replacement-part route. An official product page can establish published specifications without establishing stock or support in every destination.
12. Build a simple system record
- Trip: people, season, weather exposure, transport and walking distance.
- Weight: packed product figures plus accessories omitted from minimum weights.
- Volume: each packed shape and its position inside the actual backpack.
- Shelter: floor dimensions, occupant layout, equipment storage and pitch requirements.
- Sleep: bag, mat, clothing and a temperature plan with a safety margin.
- Furniture: the chair’s benefit, ground conditions, setup and added length.
- Variant: exact model code, materials, included parts, seller and support route.
Choose the system, not the lightest label
A coherent camping system is not necessarily the one with the smallest individual figures. It is the one that meets the conditions of the trip without hidden parts, contradictory assumptions or an impractical packing arrangement.
Weight, packed size, shelter space, insulation and setup should be read together. Once those relationships are explicit, a tent, sleeping bag and chair can be compared on the work they perform rather than on isolated claims.


